Car Maintenance You Should Know

  1. Research Center
  2. /
  3. Car Maintenance Research Articles
  4. /
  5. Car Maintenance You Should Know
Wrenching 101
Automobiles have come a long way over the past 100+ years and today's technology makes it easier than ever to keep your car on the road. But there are still basic things you need to know, whether you handle the work yourself, or take your car to your friendly Lithia Motors dealership for expert service.

This article will talk about simple stuff like checking your tire pressure and replacing your wiper blades, to checking your engine oil and other basic maintenance to keep your car, truck, or SUV on the road and running strong.


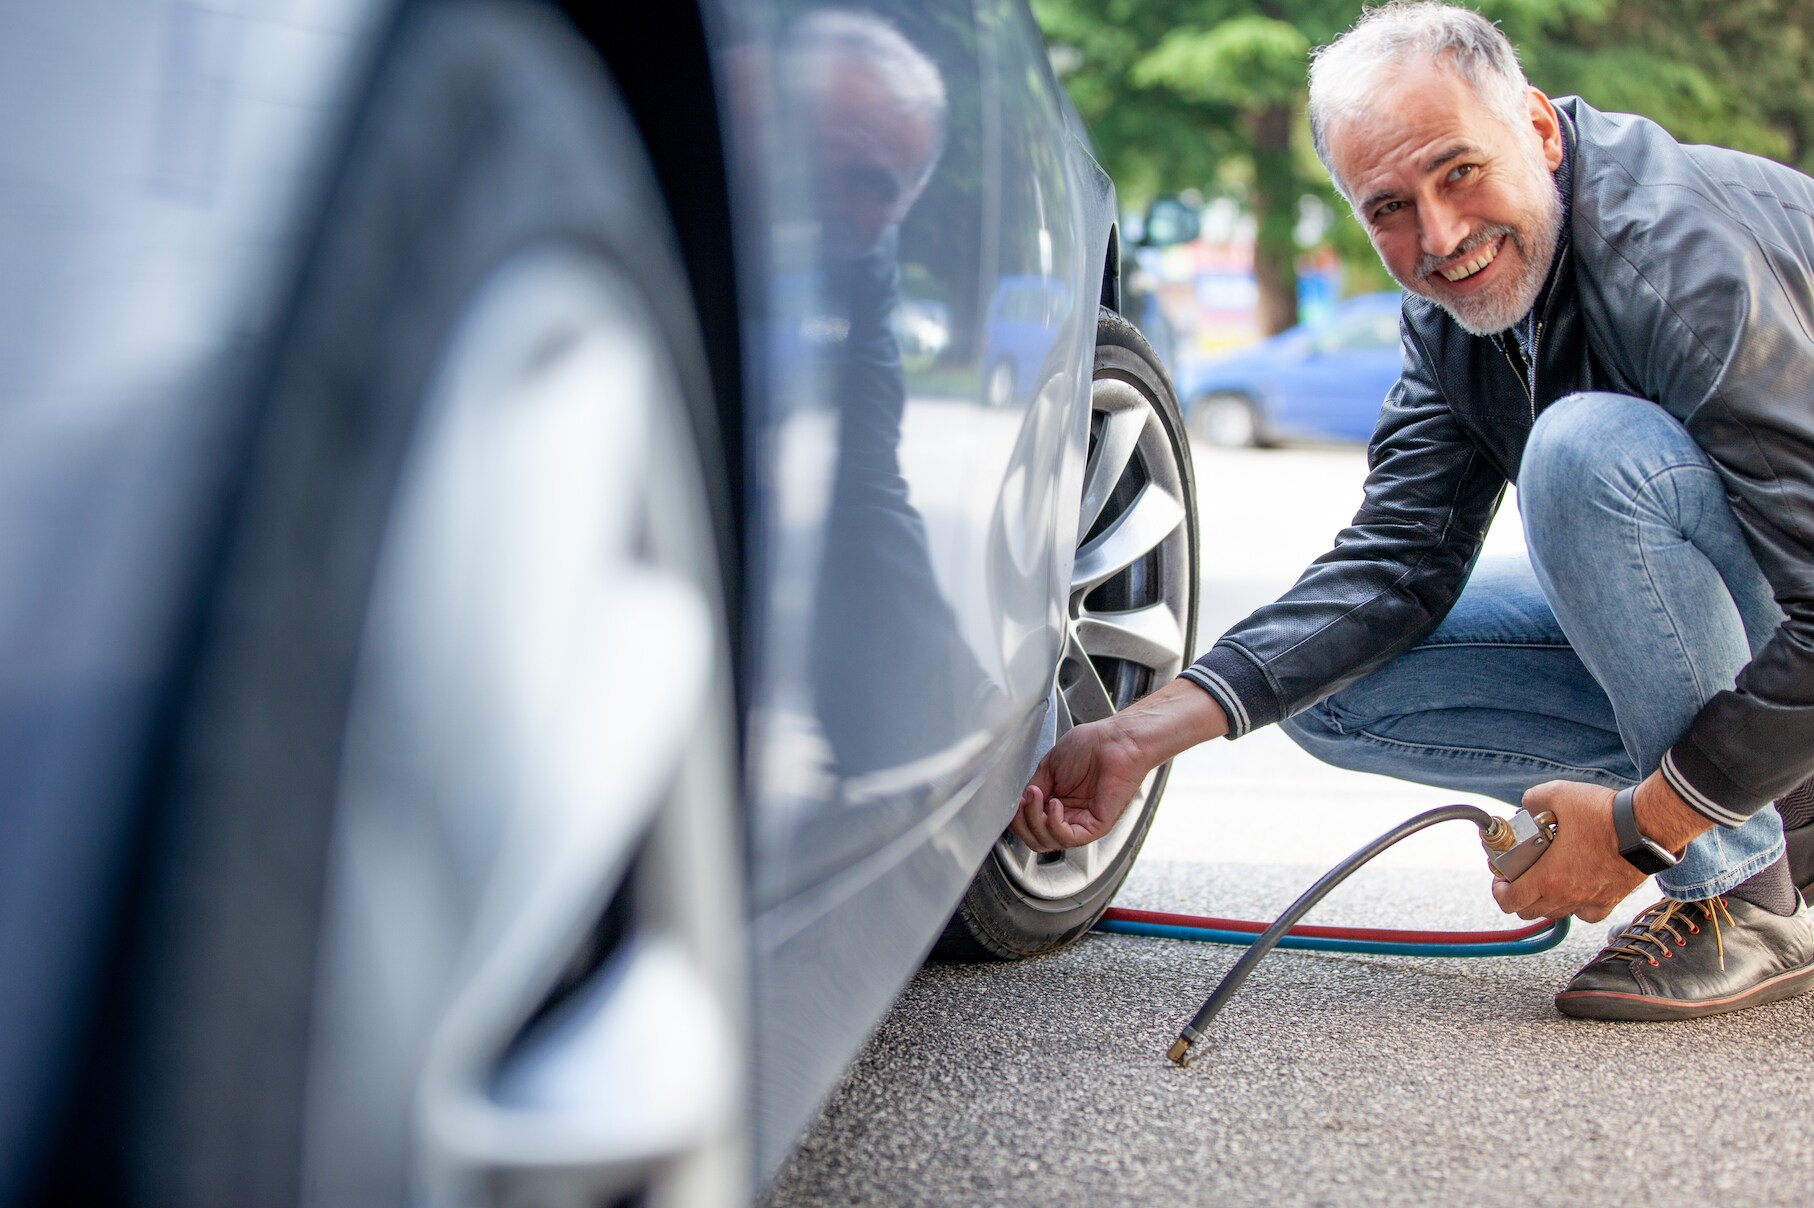
Checking Tire Pressure

Let's start with the simple stuff. Get out your Owner's Manual and look up your vehicle's manufacturer's recommended tire pressure. Let's assume the average tire pressure for your car is 35 pounds of air per square inch (PSI). Your tires are the most important safety device on your car and making sure the tire pressure is correct is extremely important so be sure to take an accurate reading.. Check your tire pressure at least once a month. Keep in mind that tires that are underinflated will wear out quicker and give you lower gas mileage.
Buy a tire pressure gauge and keep it in your car. Always check your tire pressure in the morning when the tires are cold, not after they have been warmed up on the road. Screw off the plastic cap from the air valve and put the cap in your pocket so you don't lose it. Press the tire gauge against the open tire valve stem. Air from the tire will flow into the gauge and tell you how many pounds of pressure the tire is currently holding. You'll hear a "hiss" of air. That is normal. Compare the number of pounds that are in the tire with the amount recommended for tire pressure. You'll find that suggested number in both the Owner's Manual and on a sticker found in the door jamb of the driver's side door.

To add air, attach the compressed air hose to the valve stem and hold it for several seconds. You will hear air flowing into the tire. Pull the air hose out and check the tire pressure again with your tire gauge. If you overfill, the gauge has a bead on the back side. Press the bead against the valve stem to release air. You'll hear the air escaping from the valve stem. Then check the pressure again with your gauge. When the PSI is correct, replace the plastic valve stem cover.

Repeat this procedure for all four tires. Note that tire pressure is higher in the summer months when it is hot out and tires lose pressure in the winter when it is cold. Check your tire pressure every month and have them checked when you take your vehicle in for service.

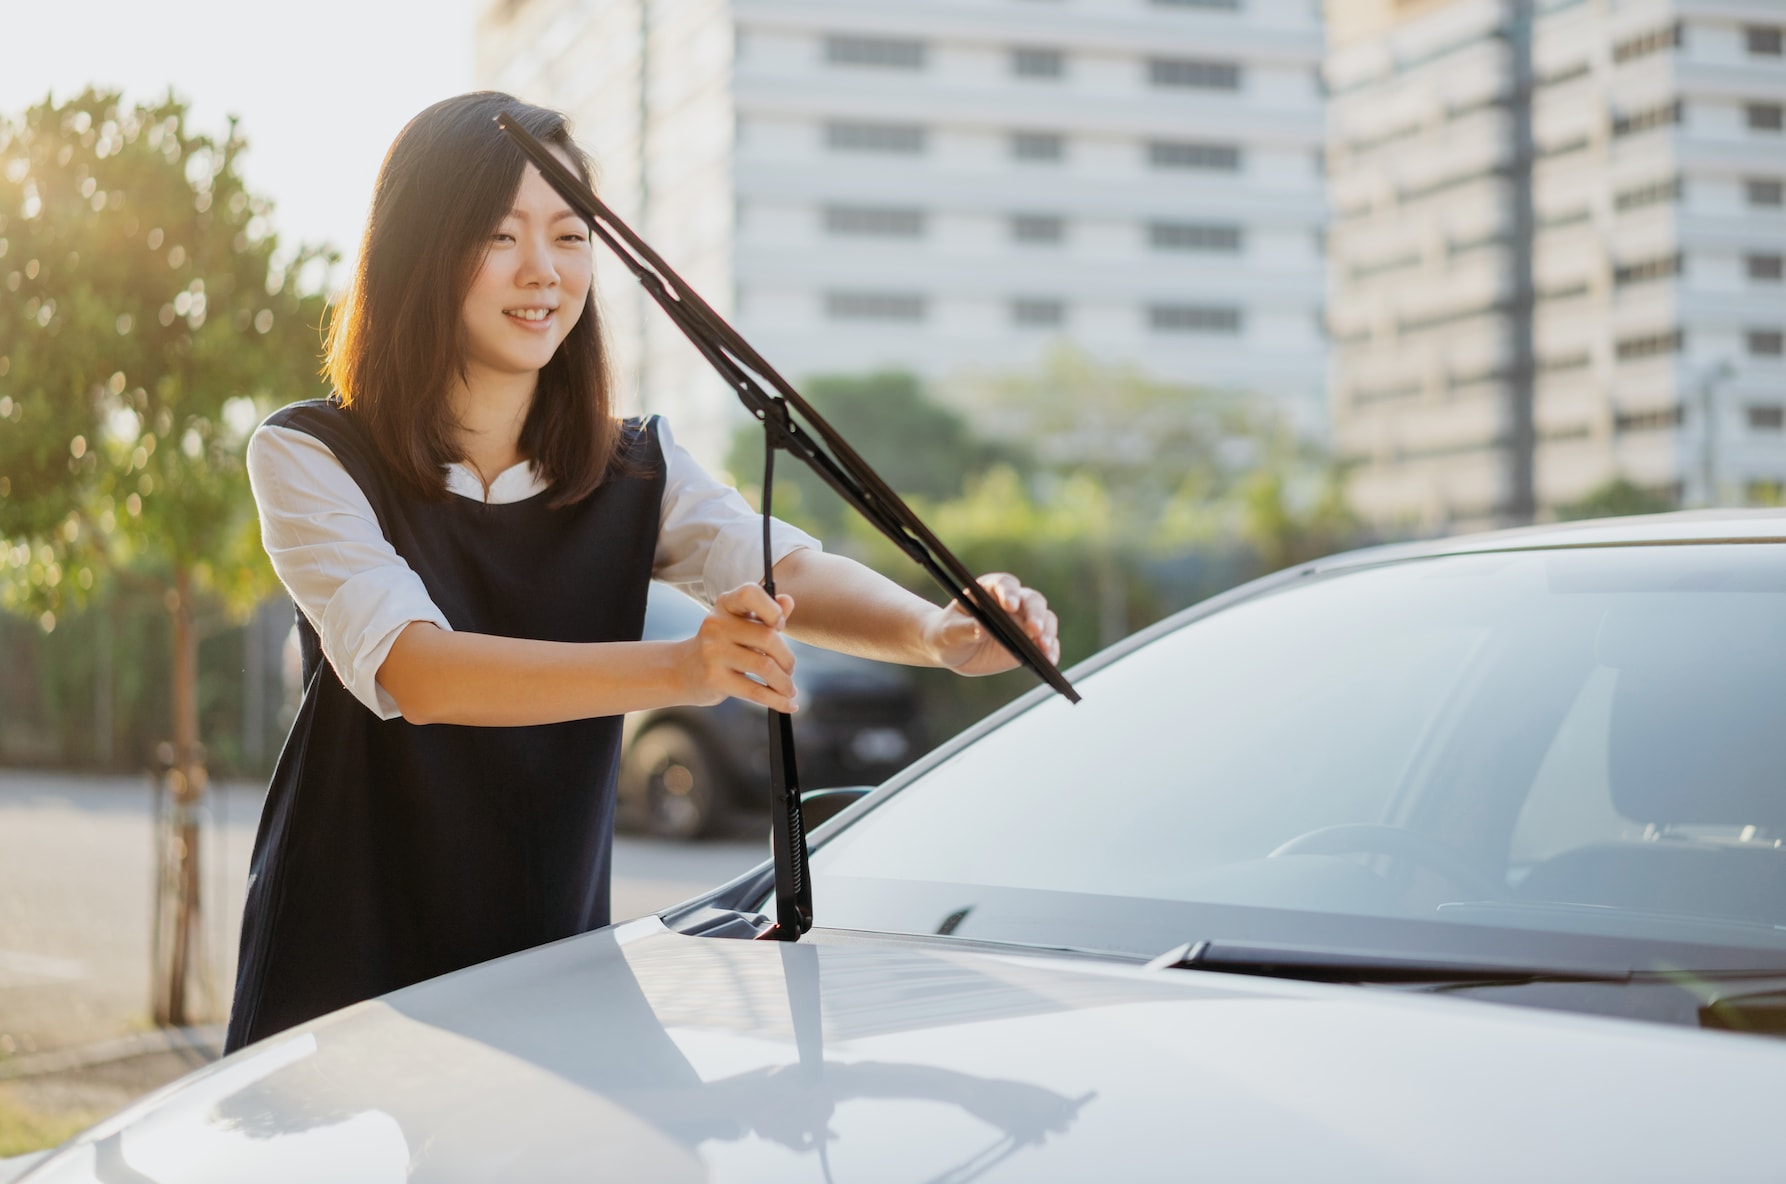
Replacing Wiper Blades

When your wiper blades start to streak when in use, they need to be replaced. Name brands such as Bosch, Michelin, or PIAA cost more than economy blades but they use higher quality rubber and last longer. Use your Owner's Manual to find out the correct size of replacement blades as suggested by the carmaker. Note that the driver's side and passenger side blades are often different sizes.

Locate the wiper arms and pull them up and away from the windshield. They should be able to hold themselves up in the upright position. Place a towel where the wipers normally rest, just to be safe. If the wiper arm falls, it could crack your windshield.

There are several different types of arm connectors on windshield wipers. The basic "J Hook" connection is the simplest. Just slide the blade toward the base of the arm and it will unhook. Other types of arm connectors such as the bayonet or side lock have a button to press or tab to lift to release the old blade. Once the old blades are released, compare the old ones to the new ones to make sure you have the correct size on the correct side of the car. Push the new blade into place until you hear a "click." Gently place the blade arm back down onto the windshield and remove the towel.

To test your new wipers, make sure the windshield is clean and dry. Set the wipers to wash so that wiper fluid flows onto the windshield. Watch to make sure the new blades do not streak.

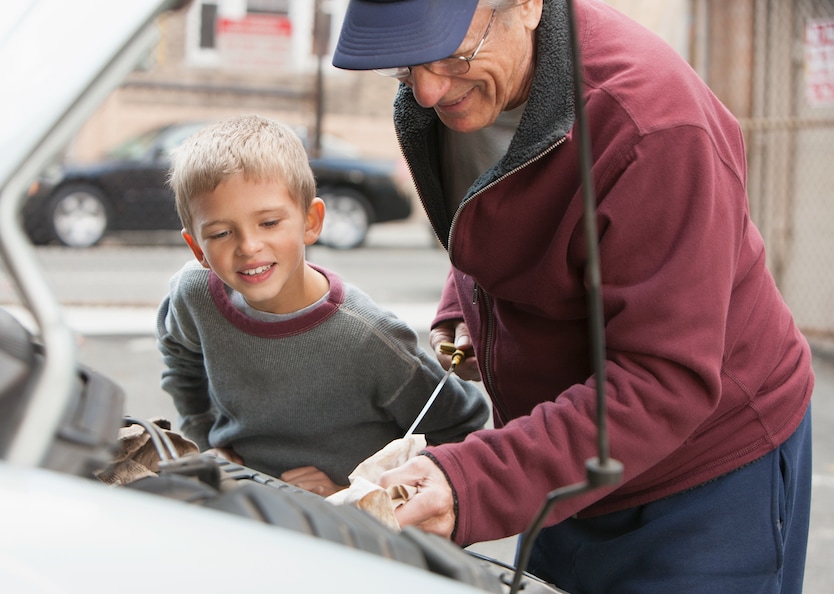
Checking Engine Oil

While new cars don't burn much oil, vehicles with over 100,000 miles on the clock often do. You'll want to check the engine oil level once a week for a month to see how much oil it is using. Once you know that, you can hopefully check the oil level less frequently. Keep in mind that running your engine when it is low on oil can cause catastrophic engine failure. 

Make sure your car is sitting on level ground and put it in "Park." The engine should be off but warm. Open the hood and use your Owner's Manual to locate the engine oil dipstick. Use a shop towel or paper towel to collect any oil from the dipstick and pull the dipstick out. Clean the oil off and notice that the tip of the dipstick has two marks. The lower one indicates that the oil level is a quart low. The upper mark indicates that the oil level is "Full" and the lower mark says to "Add" oil.
Insert the clean dipstick all the way into the tube making sure it is all the way in. Then pull the dipstick out again and read the oil level. If the oil level is on the lower mark, it is time to add oil. Check your Owner's Manual to find out the engine oil weight and viscosity to use. Don't fill the engine oil above the FULL mark.

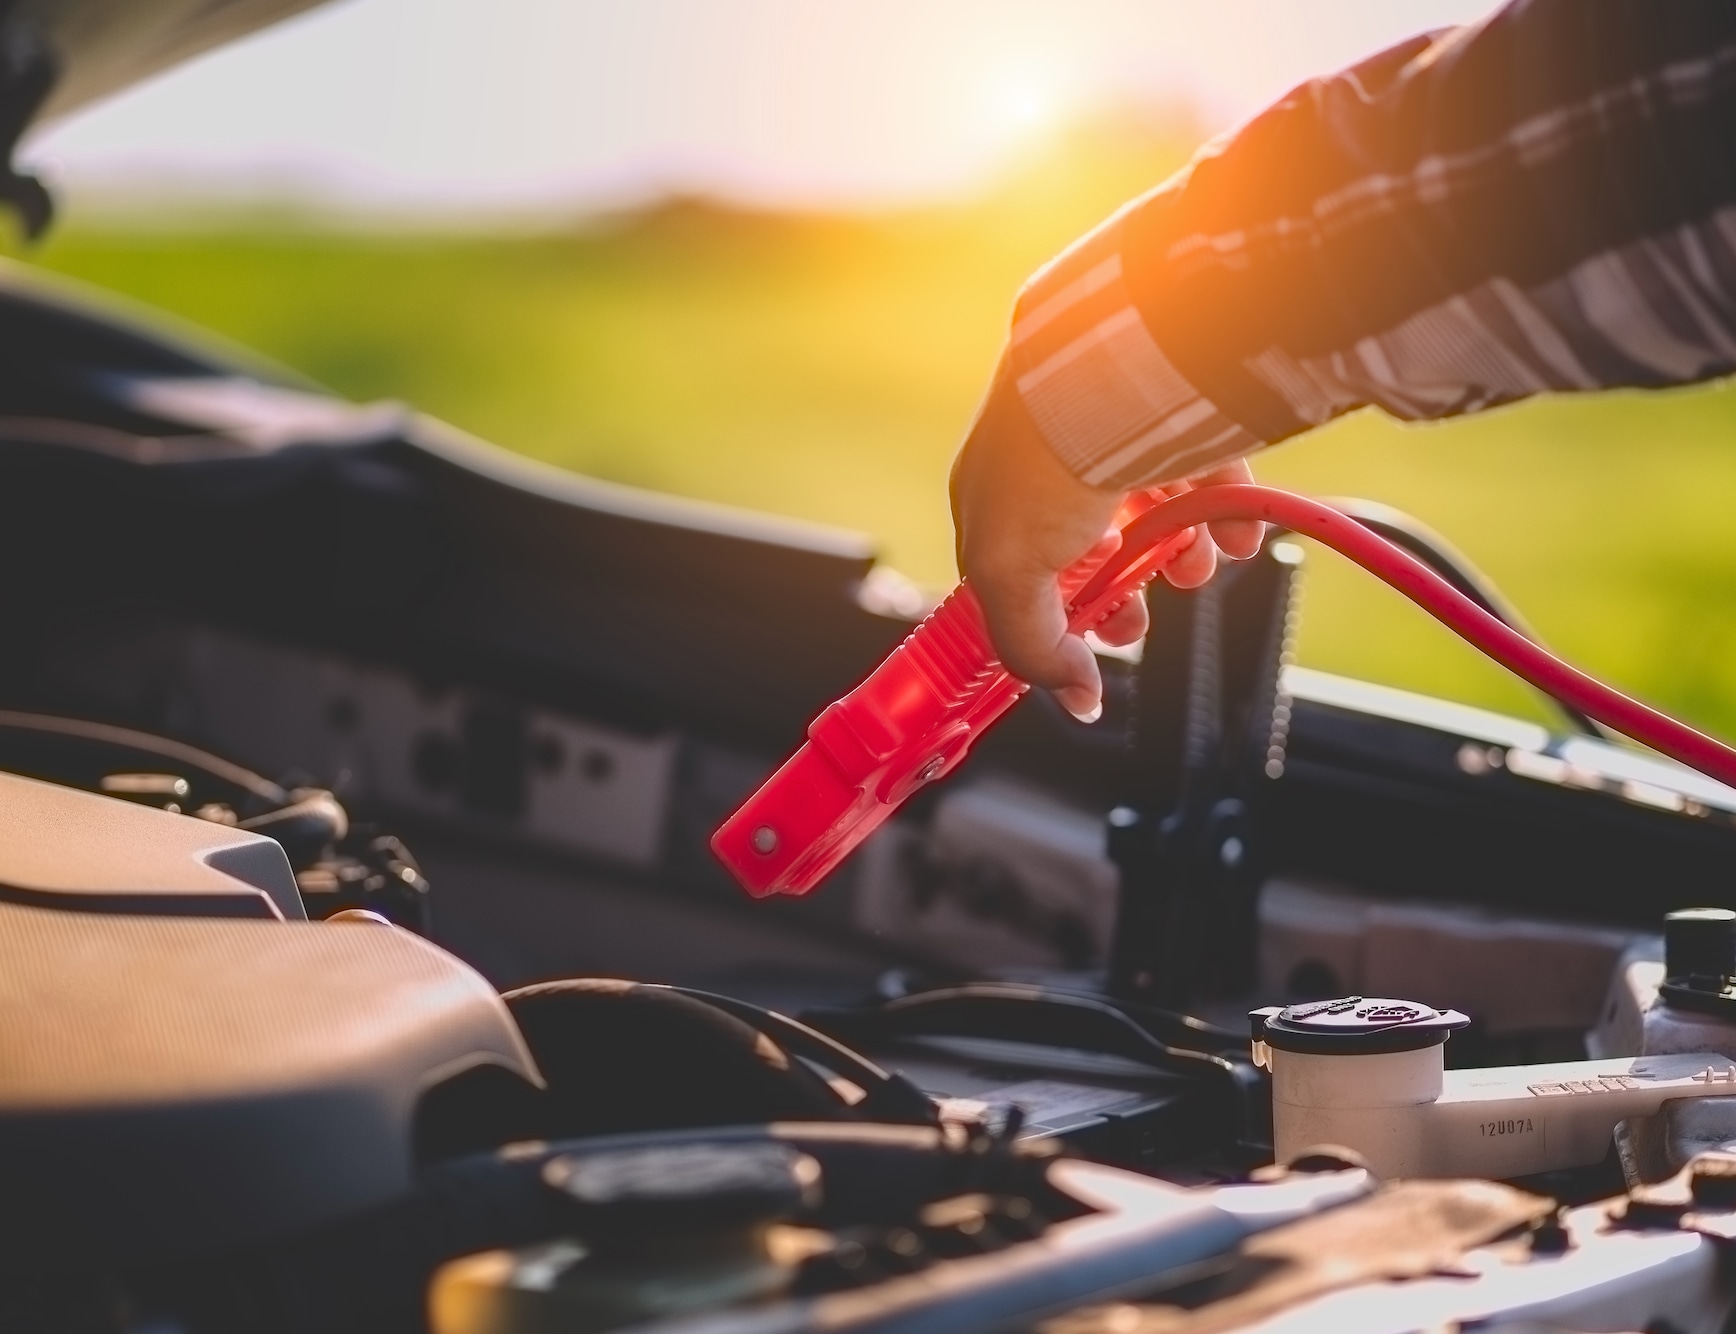
Jump Starting a Dead Battery

If your car battery is dead, all you need to get it started is another car and a set of battery cables. Keep a set of cables in your car in case of emergencies. Bring the two cars close together so the cables will reach the batteries easily. Turn off the power to both vehicles.

With the vehicles' hoods up, connect the positive (red) cable to the positive (+) battery terminal of your car. Then connect the negative (black) cable to the negative (-) terminal on the car with the working battery. On your car, place the black negative cable to an unpainted metal surface. Keep the clamp away from the battery, any moving parts, and the fuel system.

When connecting the positive cables, be sure to always connect to the positive terminal of the dead battery first. Only after connecting the positive cable to your car battery's positive terminal, should you connect the positive cable to the positive terminal of the car with the live battery. If at any point you feel unsafe or unsure of the procedure, it is best to call a professional to jump start the battery for you (AAA can handle this for you).

Start the car with the working battery and let it idle. After a minute, start your car. If it doesn't start right away, give it a few minutes to charge up and then try it again. Once your car has started, let it idle while you disconnect the cables in the reverse order. In other words, disconnect the negative cable from your car, then the negative cable from the other car. Then disconnect the positive cable from your car, and lastly, disconnect the positive cable from the other car.

A dead battery is a sign that your car's battery has charging problems. At the very least, have your battery checked to see if it needs to be replaced.
Let Lithia Help
Stop by the state-of-the-art service center at a Lithia Motors dealer and let our factory-trained technicians take care of your car. There's a Lithia dealer near you.