How to Change your Brake Pads

  1. Research Center
  2. /
  3. Car Maintenance Research Articles
  4. /
  5. How to Change your Brake Pads
What's that squealing sound?
Your car's disc brakes are right up there with the tires as being the most important safety devices on your vehicle. Brakes make sure you can stop and keep you safe. But when brake pads wear thin and start making a gawd-awful squealing racket, it is time to change them.
 
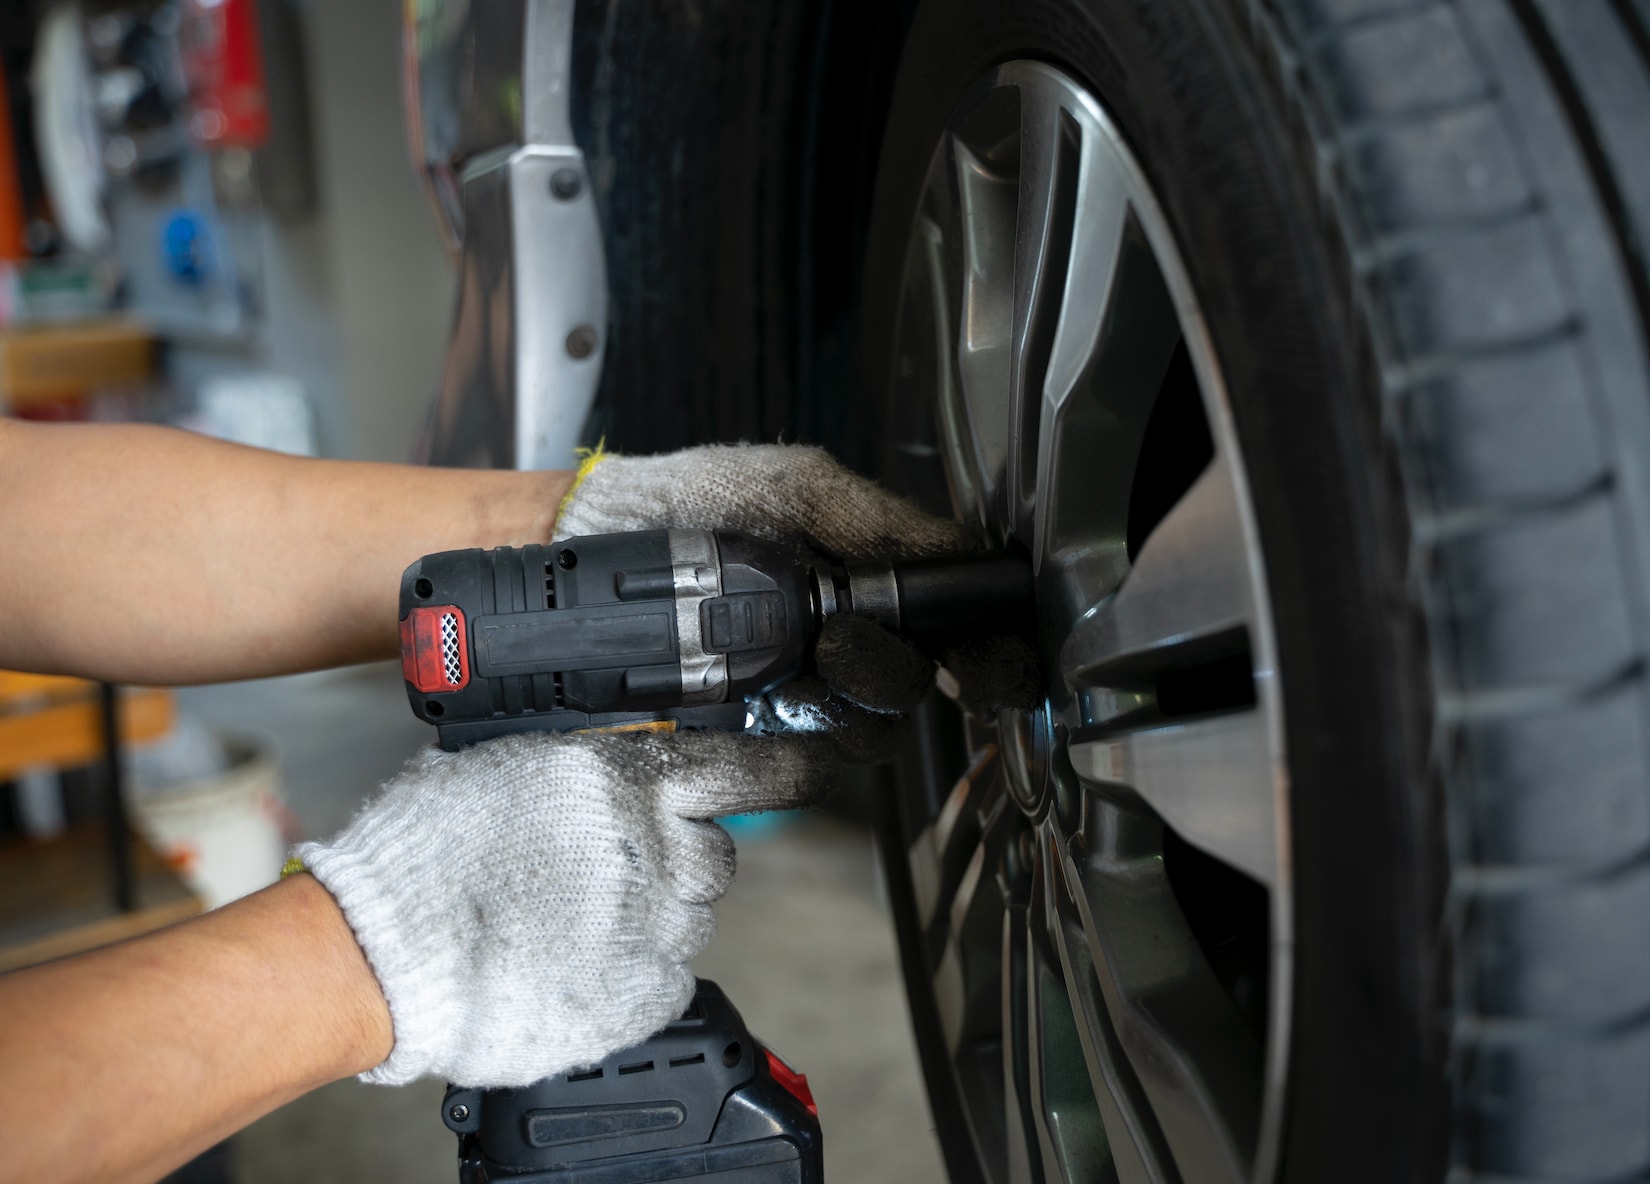
Most drivers simply have the brake pads examined and replaced by the ASE-trained service technicians at their local Lithia Auto dealer. Changing the brake pads yourself can save you a couple hundred bucks and even if you aren't interested in going to the trouble of doing this repair yourself, knowing a bit about your brakes and how brake pads are changed will arm you with knowledge when you're talking with service experts.

When to replace your Brake Pads

Your automobile disc brakes are made up of rotors, calipers, and brake pads. You can see the entire brake assembly when you remove a wheel and tire. The rotors look like thin metal discs that are squeezed when you put on the brakes. The calipers do the squeezing when hydraulic brake fluid is pumped through small pistons. Most brake pads consist of 30% to 65% metal. Materials can include steel wool, wire, and copper all bound together by organic resin. Your brake pads are squeezed by the calipers and make contact directly with the rotors to stop your car.
Tips
  • Brake pads wear out over time and need to be replaced every 20,000 miles. Rotors last longer and generally need to be replaced every 70,000 miles or so. If you have your car serviced at a Lithia Auto dealership, we will inspect your brake pads and rotors every time you get an oil change and let you know how they are wearing.
  • Front brake pads usually wear out quicker than the ones on the rear wheels. When brake pads get worn down and are thin, they start squealing or grinding when you use the brakes, and that means it is time to change them. You can inspect the thickness of the pads to see if this is the case.
  • Take a look in your Owner's Manual to check the manufacturer's recommended minimum brake pad thickness. You generally want to replace the pads when they get down to 3mm of thickness. When they get down to 2mm, metal wear indicators become exposed and cause the squealing sound against the disc. Some cars have brake pad sensors that alert the driver when it is time to replace the pads.
  •  If your front brakes vibrate when you apply the brakes, that means that your brake rotors may have warped. These can be "turned" on a brake lathe to solve the problem. See your Lithia Service Center if you experience vibration or pulsing when you use the brakes.

Why replace Brake Pads yourself?

It is fairly easy to replace brake pads on most modern cars. You can handle this yourself without any specialized tools if you are at all mechanically inclined. Some people find working on their cars to be fun and it can save you anywhere from $125 to $300 per axle on most cars and even more if you have a luxury vehicle. The job only takes a few hours to accomplish.
 
Here's what you'll need:
  • Automotive Jack and a jack stand to raise the wheel off the ground
  • Lug wrench
  • C-clamp or a piece of wood to retract the piston
  • Wrench
  • Standard screwdriver
  • Turkey baster for drawing out brake fluid
  • Mechanic's gloves
  • New brake pads (suggest OEM pads from the automaker)
  • Can of Brake fluid (check owner's manual for type)
 
How to replace Brake Pads
Before you start, keep in mind that you will want to replace the pads from start to finish on one side of the car, then replace the pads on the other side. Once the car is jacked up and the wheel has been removed, turn the wheel for maximum access to the brake caliper you are working on. Here is the entire procedure from start to finish:
Step 1. 

First, if the car has hubcaps, use a standard screwdriver to remove the wheel cover so you can get at the lug nuts on the wheel. Use the lug wrench to loosen the lug nuts on the wheel you are working on. Then place the jack stand under the vehicle's frame and lower the floor jack so it rests on the jack stand. Crank up the jack to raise the wheel and tire so that it is at least four inches off the ground.
 
Now fully remove the lug nuts, set them in a safe place so you don't lose them, and remove the wheel to reveal the brake assembly.
Step 2. 

Remove slider bolt and pivot the caliper
Slider bolts hold the brake caliper in place. There are two of these "pins" on each caliper, one at the top and one at the bottom. You usually only have to remove the lower bolt and once it is loosened by a wrench it will slide out easily. Once it has been removed, the brake caliper can be raised. The hydraulic brake line is flexible and will allow you to move the caliper up.
 
Now that it is exposed, take a look at the thickness of the brake pad. If it is one-eighth of an inch thick or less, it is time to change it.
Step 3. 

Remove old pads and replace clips and pads
Retaining clips hold your brake pads in place. Slide the old pads out. New brake pads should come with new retaining clips that let the pads slide back and forth. Keep in mind that there are left-sided and right-sided retaining clips for each side of the car, so make sure they match up as you install them on the pads.
 
The new retaining clips don't have any screws or bolts, they just snap into place. You will see how they function when you remove the old ones. Snap the new retaining clips into place. A small packet of grease should come with the new brake pads. Apply the grease to the clips to keep them from squeaking and also apply some grease to the mounting point shims that are attached to the new brake pad.
 
You can now slide the new brake pads into place. They will likely be tighter than the old worn out pads but the grease on the mounting points should allow the new pads to slot easily into place.
Step 4. 

Retracting the pistons and securing the caliper
Brake caliper pistons press against the brake pads which in turn squeeze the rotor to make your car stop. Some vehicles have one piston per wheel, others have two or three. Now that you have installed the new thicker brake pad, the caliper will need to be lowered and to accomplish this, you'll need to retract the pistons so the thicker brake pad will slide into place.
 
You can use a C-clamp to retract the pistons or simply use a piece of wood and lever it into place to keep the pistons securely retracted in place. If you have two pistons per caliper, a two by four piece of plywood will do the trick. You want to make sure that the piece of wood covers both pistons, pushing them both in at the same time so that one doesn't pop out. Be careful with the rubber boot on the piston so that it doesn't tear and make sure that the pistons are retracted completely.
 
Once the pistons are retracted, the caliper should slip over the new pads. It might be a tight fit but that is because the new pads are thicker than the used ones. Now reinstall the bottom slider bolt and tighten it.
 
You can then straighten the car's front wheels, remount the wheel and tire over the brake assembly, and screw on the lug nuts. Tighten the lug nuts carefully and replace the hub cap.
Step 5. 

Repeat. Having finished replacing the brake pads on one side, you are ready to repeat the process for the front brakes on the other side of the car. Because the new brake pads are thicker, the brake fluid will rise to a higher level in the reservoir. This fluid level will rise even more when you complete the other side of the vehicle, and you don't want it to overflow as it is extremely corrosive.
 
Before you start on the other side of the car, check your brake fluid level and if necessary, remove a bit of the brake fluid from the reservoir with a turkey baster. When you have finished installing the new brake pads on the other side, check the brake reservoir level again and add new fluid if necessary.
Let Lithia Help
If all this sounds like a lot of work and effort or if you'd rather be sure that your brake pads are installed and working properly, trust the experts at the Lithia Auto dealer near you. Our ASE-trained service professionals are ready to help. You'll find your local dealer here.