Polish your Car like a Pro

A Disclaimer

Before we reveal how you can indeed polish your car like a pro, we offer this disclaimer: 

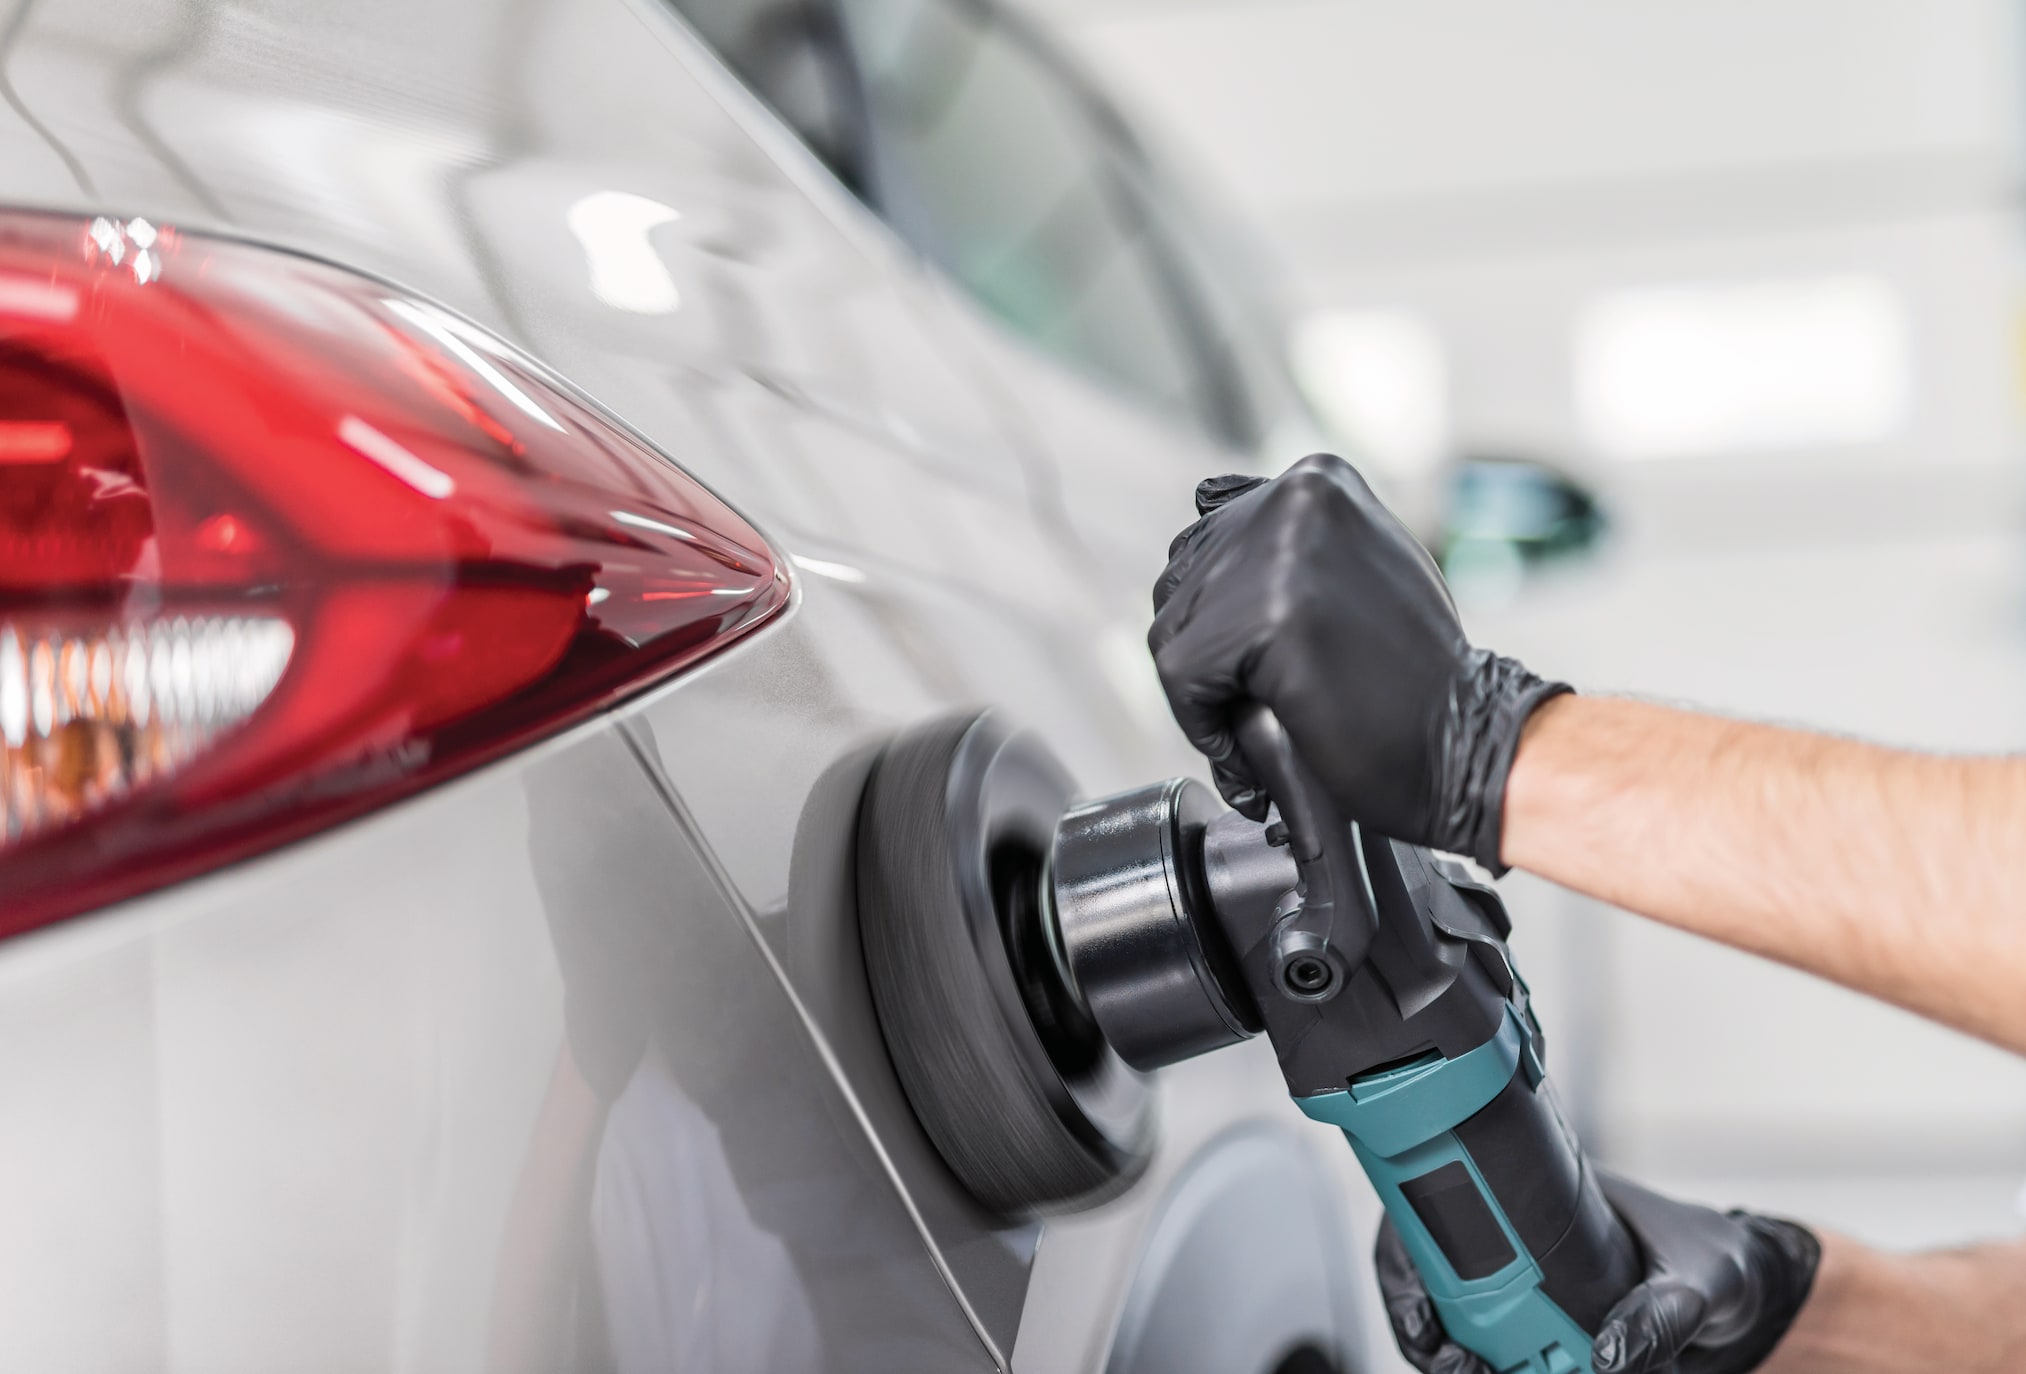
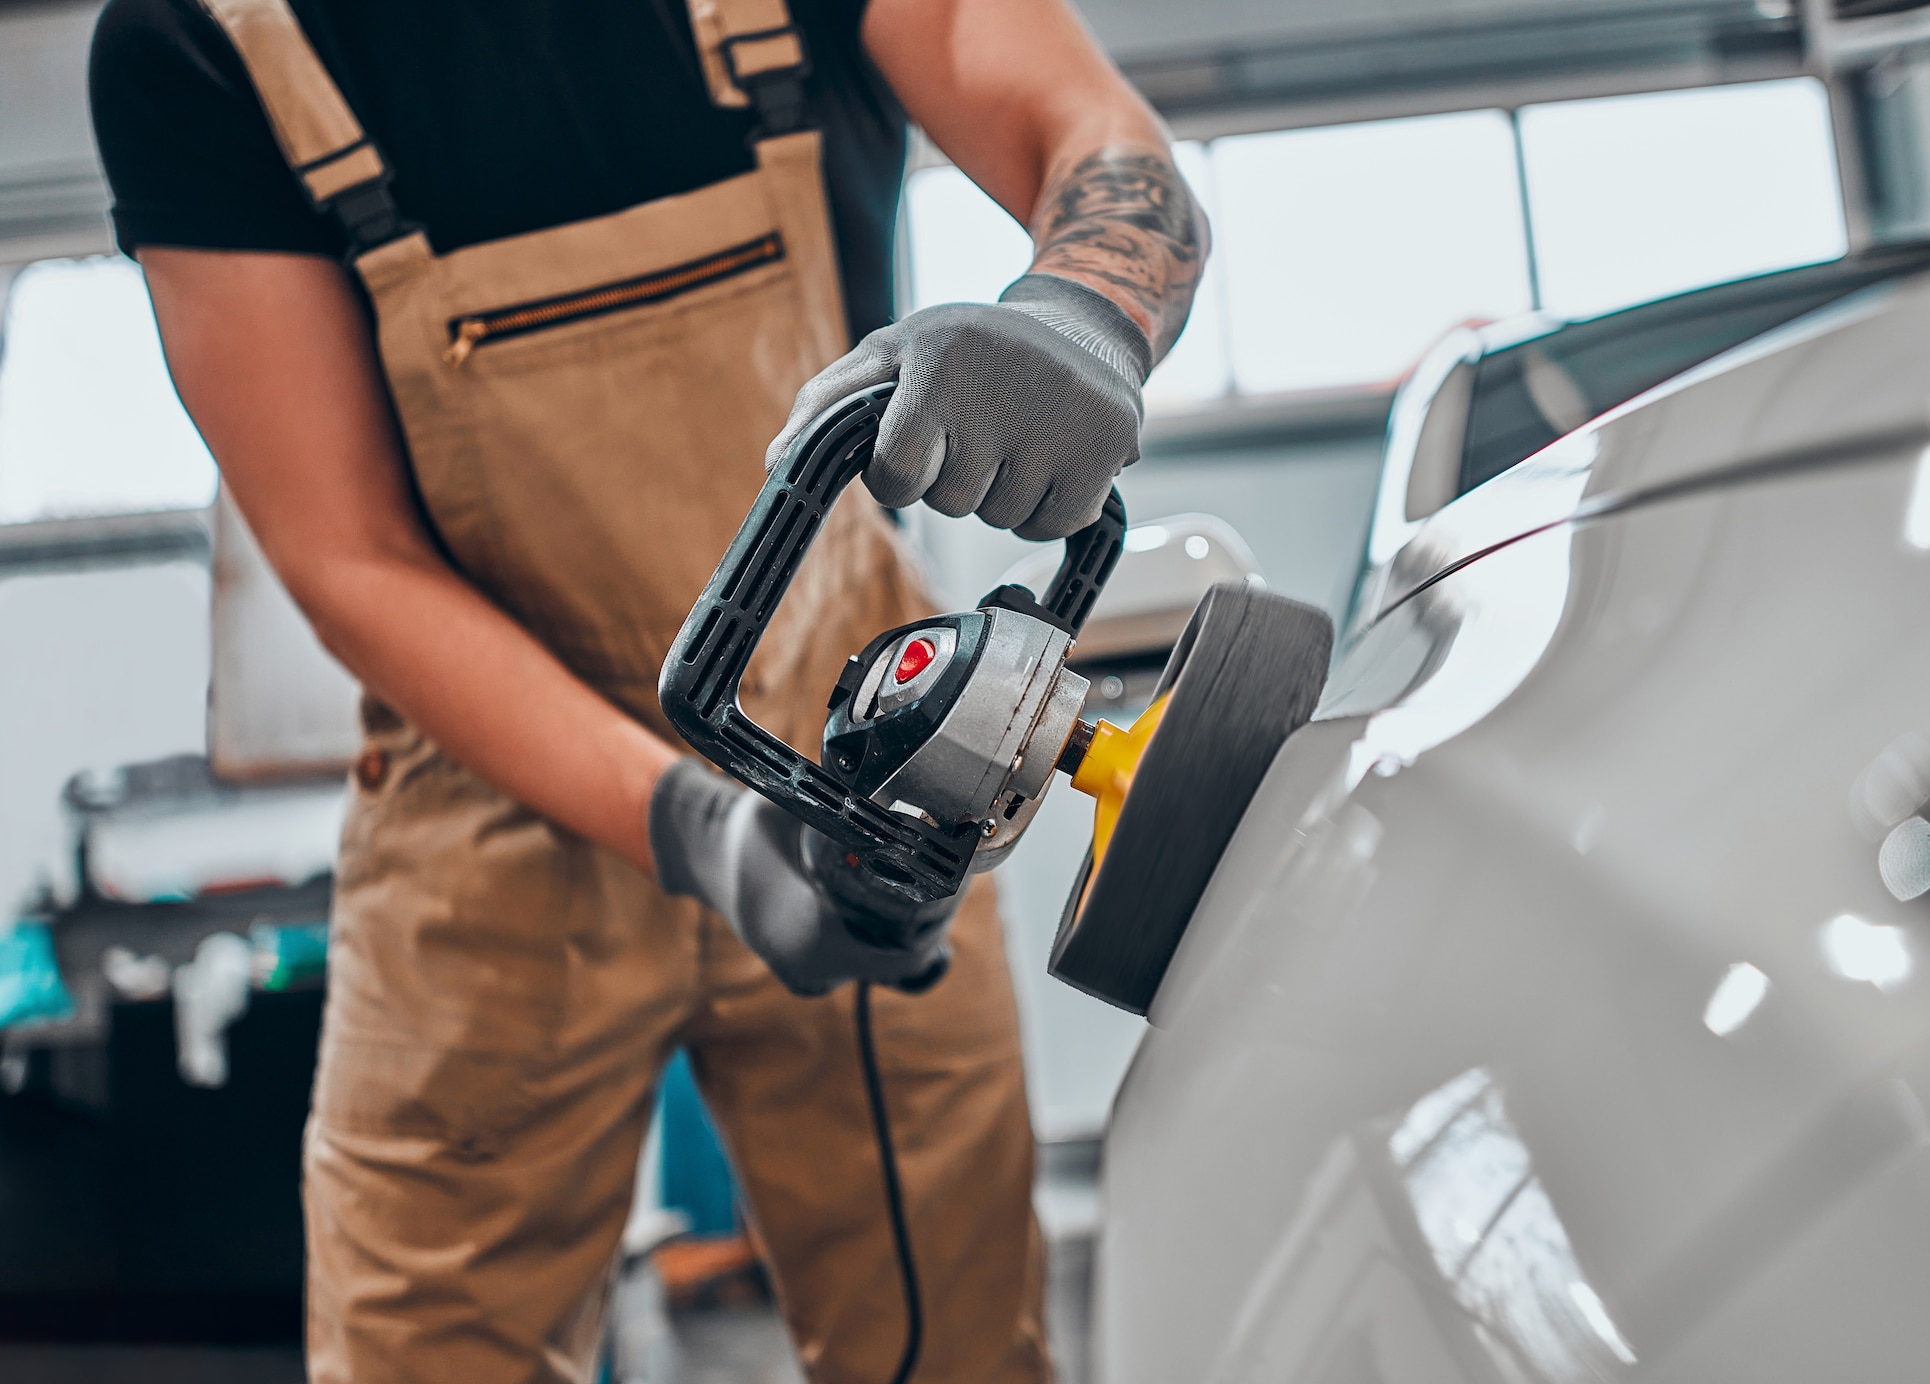
High speed polishing machines must be used with great care and must be kept moving over a surface. Holding them spinning in one place will heat up and melt your car's clearcoat and that will cause you headaches and you may have to have the car repainted. We advise you to use any polishing products with great care. Read the instructions on cleaners, waxes, polishes, clay bar, and ceramic coating products thoroughly before use. The same is true for electric orbit polishing machines and all abrasive pads that come in contact with the surface of your vehicle.

Why Polish Your Car?

Even if you wash your car often and keep it housed in a garage, the mirror glaze of your car's clearcoat will eventually lose some of its shine due to contamination and surface scratches. We're talking about ongoing contamination by everything from air pollution and solar radiation to mineral deposits from hard water, tree sap, road tar, bug splatter, bird droppings, rock chips and more. Any time you touch your car with anything other than a pristine microfiber towel, you are leaving tint scratches in the clearcoat. Over time, that dulls the finish.
 
If you have a vehicle that was manufactured within the last 30 years, it has three layers of paint; the basecoat, the color pigment paint, and the clearcoat. That top layer of clear is what you interact with when you are waxing or polishing your car. Surface contaminants can lodge in the pores of your clearcoat and become permanent, known as bonded contamination. The only way to remove these contaminants and tiny scratches is to polish the clearcoat.
Polishing versus Waxing
  • Waxing your car is easy and can hide many tiny scratches in the clearcoat. Carnauba Wax melts into the clearcoat and acts as a sealant, making scratches less noticeable. Applying car wax is a simple process. Wax on, wax off. There are even innovative "Instant Detailers" that you can spray on and wipe off to give you a great-looking shine.
  • First you wash your car in a cool, shady spot using car wash soap and a wash mitt. Wash the car in straight back and forth motions, don't swirl the soap in a circular motion (that can add swirl marks). After a good soapy wash, spray off the soap with clean water. While the surface of the car is still wet, use microfiber cloths or fine sponges to apply a layer of wax to a small area, again working in a straight-line motion.
  • Work in small areas. For instance, wax half of the hood, let the wax glaze over so that it looks cloudy, then use a new clean microfiber cloth to remove the wax. This reveals a clear, glossy shine. It's also a great way to see the difference between the freshly waxed side of the hood, and the milkier, unwaxed side. Continue this practice, applying the wax in straight lines, letting it glaze, and then removing it with a clean cloth.
  • Waxing is great for an instant shine and to protect your clearcoat but it doesn't fix the surface defects underneath. Many of the tiny scratches that waxing hides become visible again after several washes. If you want to really remove bonded contaminants and scratches in the clearcoat, you'll need to polish the car.
  • Polishing is basically fine sanding the top layer of your vehicle's clearcoat with finer abrasives. Because you are actually removing material from that top layer, you have to use extreme caution. It is easy to burn through the clearcoat when using an orbital buffing machine and cause the finish to look permanently dull in spots.
  • You can polish your car by hand or by using an orbital buffer. Keep in mind that using the wrong polishing tools, products, or techniques can have a detrimental effect on your car's finish and polishing isn't a "cure all" for problems such as rock chips or scratches that go through all layers of paint.


Hand Polishing

As with waxing, begin by giving your car a good wash. Remember that you want to reduce swirl marks by washing in a straight line when applying soapy water. Clean your wash mitt frequently because dirt fragments in the mitt can leave scratches in the clearcoat.
 
Hand polishing is easy, but it takes a bit of time. All you need is some quality car polish compound and several microfiber towels. The polish contains tiny abrasive particles that remove the top layer of clear to remove any oxidation or fine scratches. Unlike when you wash or wax the car, you apply polish in small circular motions to small areas and move the pad to overlap the area you are working on. Do not use a lot of pressure while applying the polish and work the paste until only a fine layer remains.
 
Don't apply polish to an entire section all at once. Rather, polish a door panel, a fender, or the hood, one section at a time. Once the entire section is covered in polish, use a clean microfiber towel to remove the polish. Then stand back and admire the shine.

Machine Polishing

Polishing your car with an orbital buffer is a whole lot faster than polishing by hand but using one for the first time can be intimidating. First timers may want to get an old car door from an auto junk yard to practice on. Darker colors are better for practice as they show every scratch.
 
Standard auto polishing machines include orbital buffers, random orbit, dual action, and rotary polishing machines. For most do-it-yourselfers, a standard orbital buffer is all you really need. The polishing pad rotates in a circular motion, just like your hand, only faster. A random orbit polishing machine produces a random pattern across the polishing area and is excellent for beginners who are removing scratches and imperfections.
 
Dual action polishers are used by many professional detailers. It is more aggressive, using both orbiter and rotational motion to produce a fixed pattern. They remove material faster and are more efficient but can easily overheat clearcoat quickly. Beginners beware! Similarly, Rotary Polishing machines are the most aggressive machines of the lot and are reserved for the pros.
Polishing Pads
There are a number of different kinds of polishing pads available and they all hook via Velcro to the polishing machine's backing plate. It's important to know what these pads do so you can pick the right one for your needs.
 
Foam pads come in various degrees of coarseness for cutting, polishing, or finishing. The harder the foam, the more cutting power. Microfiber pads are fairly abrasive when run at high speeds and are more aggressive than foam pads. Wool pads are naturally abrasive and the most aggressive for first step polishing and are not recommended for beginners.
Polishing Compounds
Also graded by their abrasive strength, polishing compounds include cutting compounds that are considered the most aggressive in removing material in clearcoat. It is usually followed by a polishing compound that is used to remove micro-scratches and swirl marks. One-step compounds are used in single stage polishing to remove light scratches.
 
When using pads and polishing compounds it is best to stay with the same manufacturer as these various products are meant to work together for best results. Plus, automakers each formulate their own paint and clearcoat products and some of these materials are harder and need more aggressive polishing to achieve the correct results. As you might guess, using different pads and polishing compounds will produce a wide variation in results.


Tips for First Timers
If you decide to try your hand at using a polishing machine, we suggest a random orbit polisher with a softer pad and a single stage polishing compound. This combination is much more forgiving for polishing clearcoat. Darker colored cars show more imperfections in paint so go easy on polishing them. Use softer pads and polishing compounds.
 
  1. Load up a dry pad with several dime-sized squirts of polish. Spread these around the pad by hand until the pad is covered. Using less material is better until you get used to how it flows. If you are not working on a body panel, don't apply polish to it. The area will just dry out and you'll have to scrape the polish off and start again.
  2. When you are ready to begin, use very little pressure on the polishing machine. Let it spin freely and use the low-speed setting to spread the polish compound evenly before using a higher speed for polishing. Take your time and check your work as you go. Less is more. The last thing you want to do is heat up the clearcoating so that you burn through it and ruin your paint job.
  3. Move the pad in straight overlapping patterns. Use side to side motions and overlap each stroke for better coverage. Remember that the outer edge of the pad is moving faster and transfers less polishing compound. Keep the pad parallel to the body panel you're working on. Tilting the pad will polish the areas under the edge quickly and more aggressively, overheating the clearcoat. Keep moving to keep spots from overheating. Sometimes clearcoat damage only shows up after the paint cools.
Last Words
If all this sounds like too much work and hassle, there are always polishing professionals that are used to working with the machines and materials. On the other hand, if you'd like to give polishing a try, variable-speed polishing machines can be had for under $250 at hardware, auto parts stores, and online. When you are finished polishing your ride, apply a layer of wax, paint sealant, or ceramic coating for a longer lasting shine.